
Home Projects: Ceiling Fan
Home Projects: Ceiling Fan
This is the first of many in a series titled “Home Projects”. Our guest room was in dire need of better ventilation and cooling on the hot summer days. I waited until one of the coolest days of the summer to install the fan, as I needed to run new cables for this installation. I start this one off by a word of caution, in that electrical work should be done by a licensed electrician in accordance with your local and national building code. Please take my article and video as educational as I hold no liability to the work you perform on your own. With that said this install is easy, and the only difficult part is crawling around an unfinished attic. With the right skills and experience you can fix anything in your home, but you must understand the risks in working with electricity, as it has the potential to cause great harm to yourself and others. You should never work on live circuits and always use a non-contact voltage meter to test circuits before working with them. Best practice is to carry a multimeter as well.
Because I didn’t have an existing ceiling light to use, I had to run a new circuit from my attic. Fortunately, there was already another spare circuit and junction box up there that was left previously. It isn’t on the same circuit as the bedroom, so it isn’t ideal, but all other boxes were maxed out and it was the best choice. The first step of any electrical project is to turn off the circuit breaker and de-energize anything you will work on. Flip the breaker and check the cables with a non-contact voltage meter to ensure it is indeed de-energized.
The fan I installed was a Hampton Bay Holly Springs 3 speed fan with 3 lights. The typical installation is to wire this into an old light box or older fan with no independent controls other than the pull chains. I figured while I was up there I would eliminate these and install a proper wall switch.
1. Choosing a location
I started by marking off the center of the room, taking width and length measurements and marking in the center. I drove a long 3” screw on the center mark to help me locate it in the attic above. For installation of the fan you have a few options and it depends on the access you have and structure available where you want to install it.
a. Side mount box (as shown in my video)
b. Retrofit with extension bars that tie into joists (if you end up between joists
c. Direct mount with a low-profile pan box that screws directly to a joist edge (I tend not to like these as they don’t give you much clearance for wiring
2. Pulling cables
Next I went up into the attic, located the bay the screw was in with a simple offset measurement from the wall, and started pulling a feed cable from the junction box located to the wall switch location. I had previously pulled out a single gang box for a light switch which I would convert into a 2-gang box now. I ran both a feed cable as well as a fan cable that would jump from the switch location to the fan location. I secured these cables with staples and then put the insulation back in place.
3. Installing Fan Box
Once the cables were pulled I cut out the fan box. It happened to be right next to a joist, so I went with a side mount box. I used the box to mark out a clearance hole and cut it out with a jab saw. I marked the box bracket above and fastened it in place with #10 screws and fastened the box to the bracket from below. At the same time from above I also installed the cable strain relief bushing and pulled the cable through with excess.
4. Installing the fan
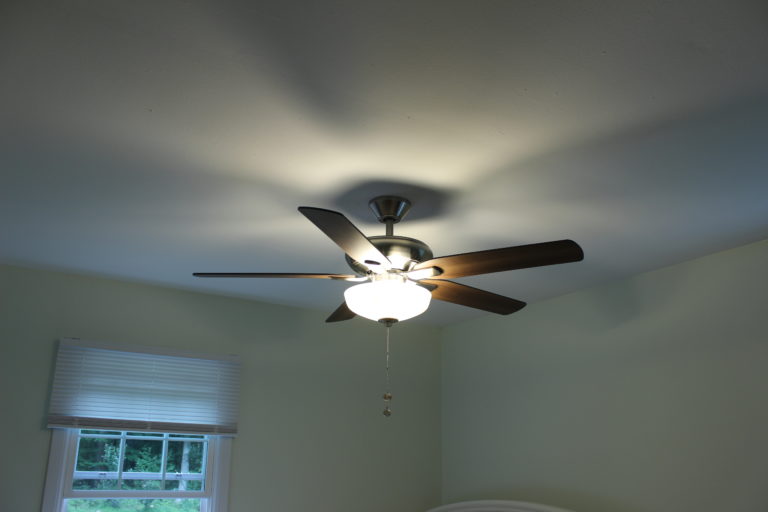
Fan assembly is straight forward, but each fan will be slightly different. Refer to the instructions on specific assembly. In my case the ceiling bracket went on first followed by assembling the fan motor stem onto the motor. This slipped onto the bracket and was wired up. Then the bracket gets covered with a base cover and escutcheon piece. Once you have these installed you can clip the light assembly into place and install the fan blades. Lastly, the lights are installed (I installed 3 60W equiv. LED bulbs), as well as the bowl and bowl nut.
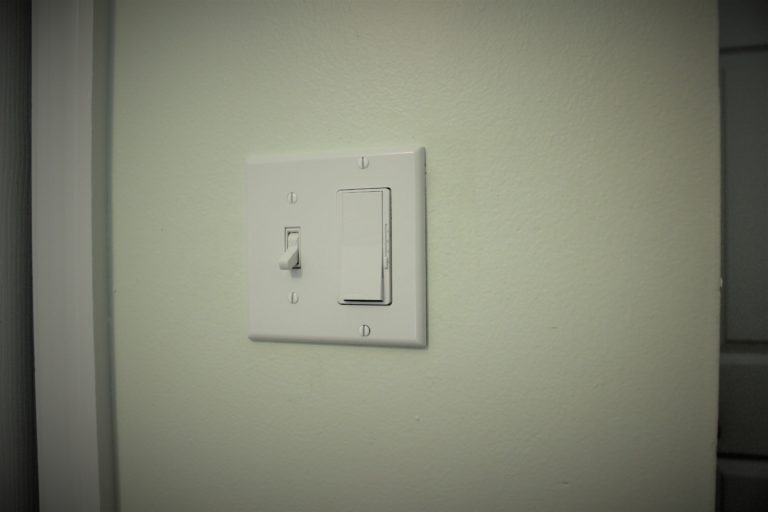
5. Wiring the switches
I proceeded then to reinstall the light switch for the closet I removed and installed it into the new 2-gang box. The Lutron controller for the fan is straight forward, where there are three wires. You wire the ground to bond the switch housing, the neutral is passed through the box and tied into the fan cable neutral. The remaining three wires are connected as such that: red connects to the fan cable light conductor, black connects to your 120VAC source phase conductor, and red connects to your fan power. At the fan side, the light conductor is typically blue but check your manual. The last step is to install the cover plate, turn on the circuit breaker(s) and test it out.
This fan added quite a lot of light and plenty of fresh ventilation for the hot summer days and nights. I hope this video and article was helpful and informative and can give you the background on what is involved for doing something such as this in your own home. Please contact me on Youtube and social media if you have any questions.
Helpful Links
Some of the items below contain affiliate links which help this website.
Project Components
Ceiling Fan: (Used satin nickel, can be purchased at home depot or amazon) https://amzn.to/2PFhlgB
Wall Control Switch: https://amzn.to/2PEDjjV
Wall Control Upgrade, better option: https://amzn.to/2PG6PWK
Side Mount Fan Box: https://amzn.to/2MTG2HE
Wago Lever Nut Connectors: https://amzn.to/2PCAiR7
Tools Used
Fluke Meter: https://amzn.to/2MNbkjB
Fluke Non-contact voltage tester: https://amzn.to/2BWGukq
Milwaukee Ratcheting Driver: https://amzn.to/2ocQJHe
Milwaukee M12 Fuel Drills: https://amzn.to/2oaFlM3
Milwaukee Shockwave Drill Bit Set: https://amzn.to/2MPNBPI
Bosch LED Work light: https://amzn.to/2wgxCAD
Knipex Linemans Pliers: https://amzn.to/2wtQoDS
Knipex Cable Shears: https://amzn.to/2o9lhtA
Greenlee Wire Ripper: https://amzn.to/2LuJJ21
Auto Wire Stripper: https://amzn.to/2Lseswg