Spray finishing made easy!
Spray finishing made easy!
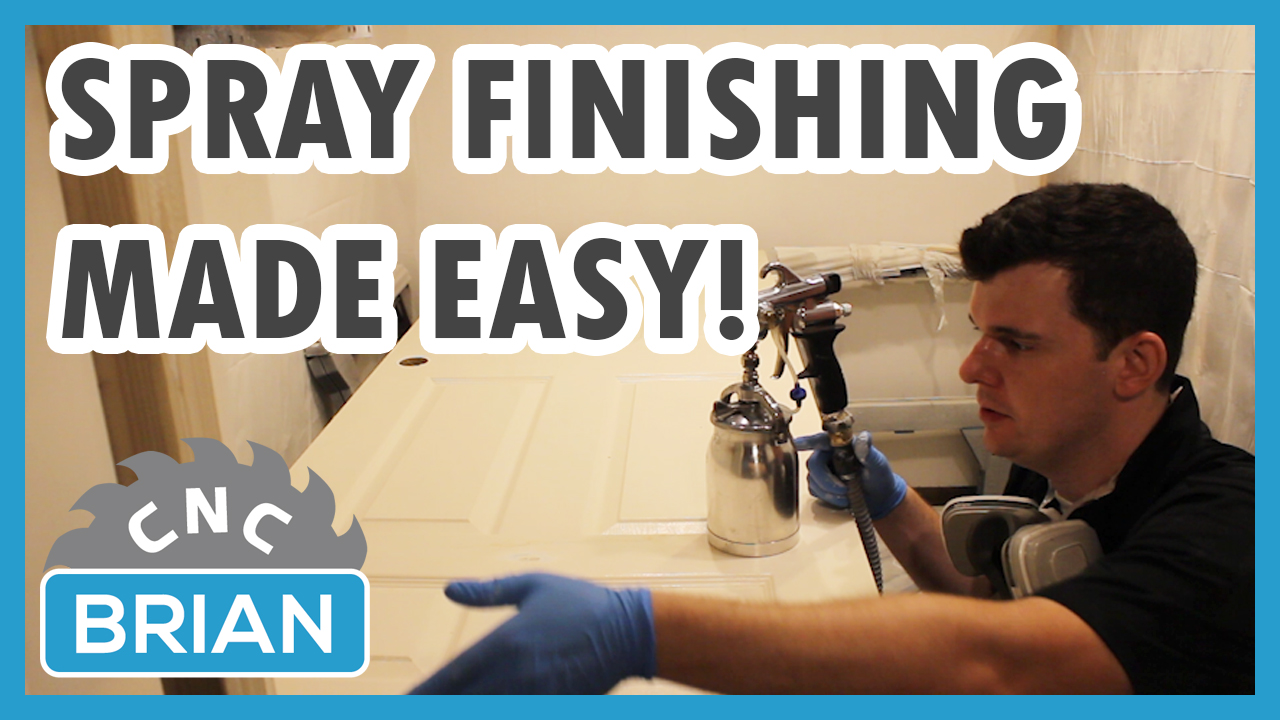
After many requests over the past two years since my Fuji Mini-mite 4 review video, I have filmed and released my in-depth video on spray finishing, and in particular on spraying acrylic/latex paints. Latex can be challenging to setup and atomize properly, as it is a highly viscous paint designed typically for rolling or brushing on walls and trim.
I cover four basic topics as outlined below:
1. Setting up
2. Thinning
3. Spray configuration
4. Application
1. Setting Up
See the video for setup of both Fuji and Aerojet spray guns with a brief overview of not only how the guns go together but how they are controlled and configured. The Aerojet (cheaper) alternative sets up with fewer parts but the basic principles are all the same.
2. Thinning
Proper thinning is the key to spraying well, whether you’re spraying lacquer or latex paint. If you don’t thin the finish well the spray gun won’t atomize the finish and spray it well. The thicker the paint the larger the splatter. The objective of thinning is to thin the paint until you develop a nice fine mist from the gun with moderate air flow. The more you can thin the paint and dial back on the air flow, the less overspray you will put in the air. As seen in the video you want to see a fine mist where the paint merges and isn’t patterned in large droplets, as this will leave a textured or ‘orange peel’ surface finish. In this example I didn’t use volumetric measurements, but you should. Once you figure out how much you need to thin a paint you can note it and use these ratios to consistently spray with ease.
3. Spray configuration
Configure the spray gun so that you are starting with the fluid flow almost completely shut off. Add fluid incrementally until you achieve the wet film thickness you are looking for. A lot of people try the inverse and reduce the paint, but this leads to over-coating. The objective is to build a finish of consistent thin coats with good surface coverage. Thicker coats take longer to cure (if ever well) and don’t build a durable finish. Adjust your cap orientation so that you achieve the spray pattern you desire. For narrow pieces you may want to just spray with a dot/ball pattern, with the cap rotated to 45 degrees. For larger areas you will want to either spray with a vertical or a horizontal wide fan pattern.
4. Application
Make consistent coats, at equal height to the surface and with the gun as parallel to the surface as possible, to apply paint evenly. Spraying too close will over coat and spraying too far away will create a rough surface finish. Find the sweet spot between those two. Resist the urge to overcoat, you can always apply more paint later! For cabinet doors I typically spray all of the edges first, as this leaves overspray on the face of the door. When I go to coat the face I adjust as needed to not overcoat because of this. Scuff sand between coats with 220 grit sandpaper, clean off the surfaces, and repeat coats. Remember to always use an appropriate respirator rated for the finish you are using and with adequate eye protection and ventilation.
Follow the article video for all of the other in-depth advice, tips, and tricks. If you have any questions or requests please post on my youtube video in the youtube comments, or send me a message on social media!
Helpful Links
Some of the items below contain affiliate links which help this website.
You can find the Mini-Mite 4 & Accessories here:
Mini-Mite 4
Whip Hose
2 Turbine Filters
5 Spare Check Valves
1.5mm Aircap Set
Remote Control
Perfect High Volume Setup:
Q5 Platinum
Pressure Pot
Remote Control
Extra Check Valves
Tip Set
Additional lower cost spray guns (aerojet)