
How to build & install easy pre-finished drawers
My latest video in the ‘Home Projects’ series is live! In this video I show how to easily build pre-finished drawers that require no finishing, minimal shop tools and are cost effective to build. I also show how to fabricate drawer fronts from white melamine material to match the rest of the closet and install the drawers with a few simple templates.
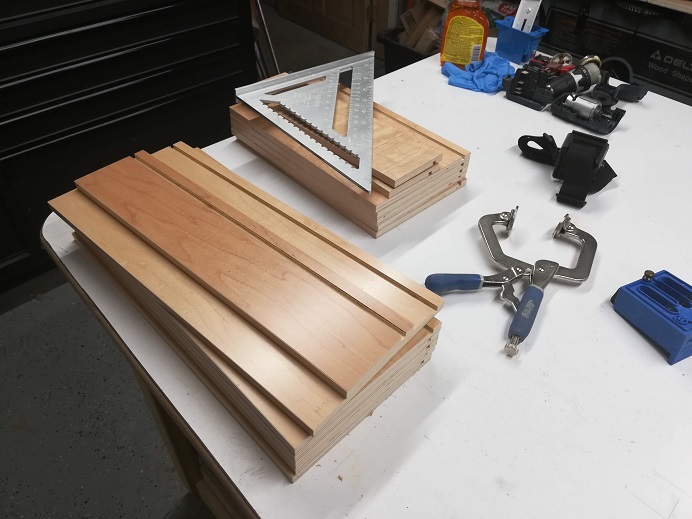
Although I show some larger tools to speed things up, nearly all of this can be done with nothing more than a cordless drill, a circular saw and square, and a package of screws. The material I used in the video is a pre-finished maple plywood that has a factory UV cured durable semi-gloss finish. The top edge is edge banded and the bottom ¼” x ¼” groove is already provided to speed up construction.


1. Making the Cut List
Before cutting drawer parts, you will need to put together a cut list. Measure your drawer opening for width and depth. You will want to select a nominal depth for the box based on available drawer slides and leave some room at the back for clearance. In my case the cabinet is about 15” deep so I went with a 14” drawer box and side mount slide. For side mount drawer slides you will need to reduce 1” from your overall drawer opening, and I suggest you go with 1-1/6”, as 1” is a bare minimum and in my experience will bind up if cut too close. Once you have the size of the drawer box the rest of the math is easy. The drawer material Is ½” thick, so you need to subtract 1” for your front and back, and the sides are your drawer depth. For example, if your drawer opening is 20”, your front and back would need to be cut to 17-15/16” for an easy fit-up.
2. Cutting the Parts
After your cut list is in order, you will take it over to the miter saw or table saw and start cutting down parts. If you don’t have either of these, you can use an inexpensive speed square and a circular saw to do the same. The most important thing is that the drawer parts are cut to the same dimensions, to ensure a nice square drawer box. The drawer bottom will be floating, so you want to cut it undersize. The bottom groove is ¼” deep, so you only need to do simple math to determine it’s size. Take the overall width and subtract 5/8”. This will undersize the drawer bottom 1/16” around or 1/8” in width and length overall.
2. Drilling the Parts
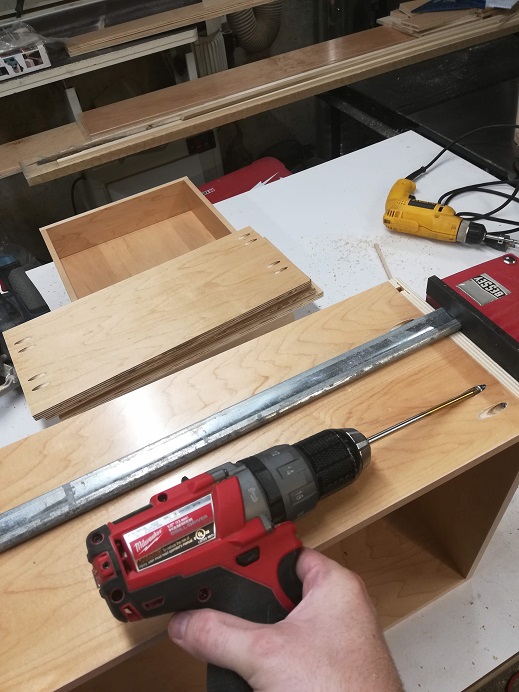
After the parts are cut you will need to take your kreg jig to the parts and start drilling holes for the joints. The holes will be drilled on the outside of the front and back, where on the front they will be hidden and on the back they will never be seen. All you have to do is mind the ¼” drawer bottom groove and you won’t make any mistakes. See the links to the side for the page link on the Kreg Micro jig. If you already have a kreg jig this will just complement the existing system and is fully compatible.
3. Assembly
The easiest way to assemble the drawer boxes without industrial case clamps is to use a clamp such as a Bessey K-body clamp across the two sides and the front or back to allow you to flush up the top and surfaces. If you get it right, you can clamp up both sides and make both joints at the same time. Put the cordless drill at a lower torque setting and lower speed to avoid overdriving these screws. (3/4” kreg screws, see the link to the right). After the first three parts are joined you can slide in the back and attach the back of the drawer box.
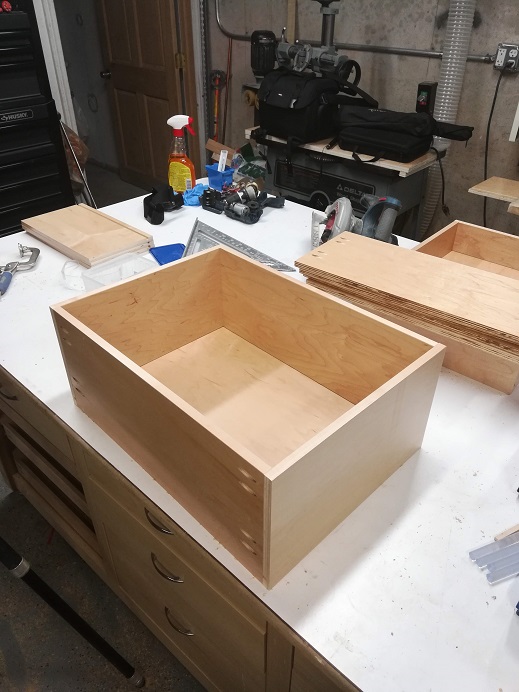
4. Squaring it Up
Now you built your first box! The final step is to square it up and keep it square. I prefer to use industrial hot melt glue, it’s what the pros use! Flip the drawer over and check for square by measuring apposing corners. From one corner to the other they should measure the same, and if one set is larger than the other, apply a clamp to it and tighten down until the other set is equal. When cross measurements are equal, the drawer is perfectly square. Apply hot melt glue quite liberally and press the drawer bottom down until the glue sets up. For production work you can brad or pin nail the bottom in place at an angle to hold the drawer square and apply the glue quicker.
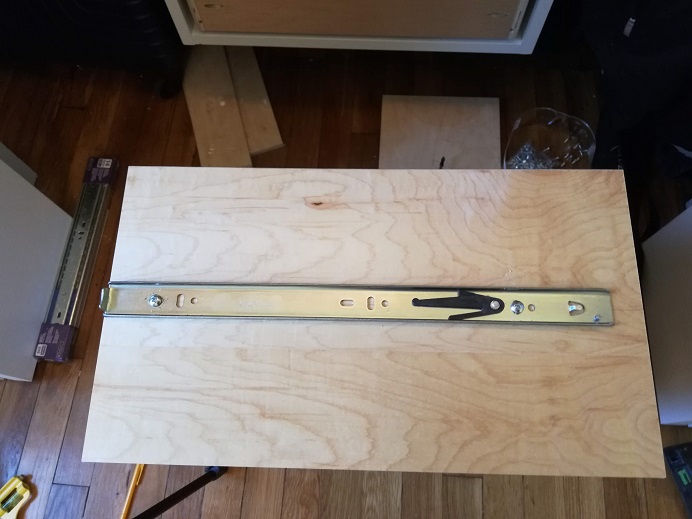
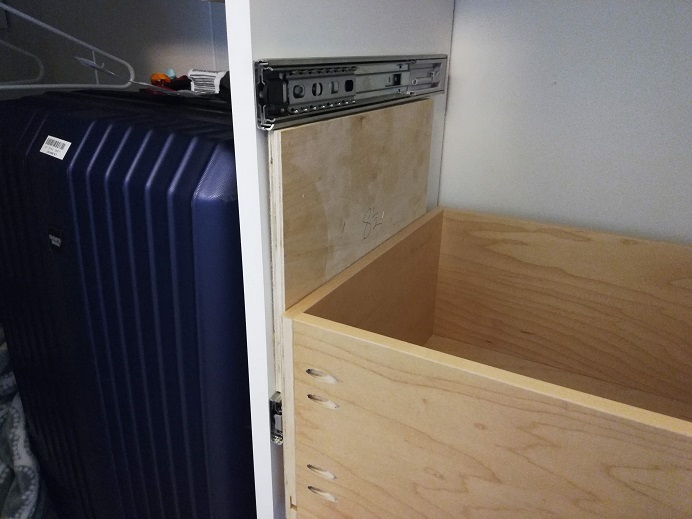
After this, you just rinse and repeat. The end of the video shows how I built drawer fronts and installed the boxes, fronts, and hardware. Because you might be doing it differently with say undermount drawers and hardwood fronts, your mileage might vary. Check out the video for helpful tips on installing the side mount drawer slides. A few pieces of plywood scrap cut to width makes this process easy. If you enjoyed this article and video please leave me a like on social media and Youtube and consider subscribing to my channel if you haven’t done so already. Thanks for reading and watching, see you on the next one!
Helpful Links
Some of the items below contain affiliate links which help this website.
Project Materials
BHK Drawer Blanks (4” and 8” used) Try to source these from local hardwood plywood distributor as they will offer the best price.
Alternatively use: Link
Other similar drawer blanks: Link
Kreg Screws for Microjig
Project Tools Used
Bosch 18V Circular Saw
Sawstop Table Saw
Milwaukee M12 Drill/Impact Driver Kit
Bessey K Body Clamp
Kreg AutoMAXX Clamp
Kreg Jig
Kreg Hardware Jig
Fastcap Tape Measure
Fastcap Fast Break
Fastcap Quad Trimmer
Industrial Hot Glue Gun
Box of Industrial Glue Sticks
Dowel Centers
Self Centering Drill Bits