
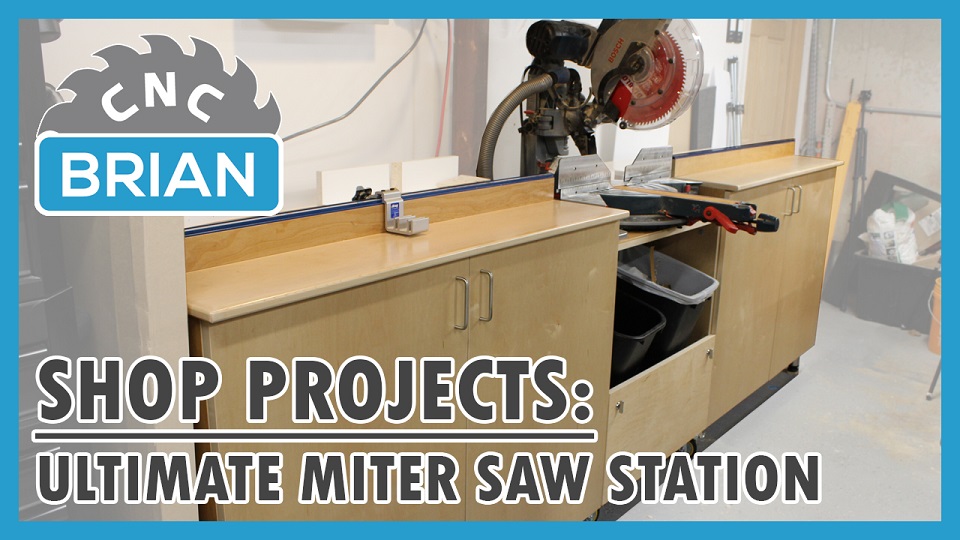
Shop Projects: Ultimate Miter Saw Station
Ultimate Miter Saw Station
This project has been a few months in the making from conceptual design, 3D modeling, and construction. It takes everything I have learned over the years and incorporates my wish list items I knew I would always implement when I built this. In the past I have built simple benches with cheap materials but this time around I decided to build something to last me a long time. It features built in dust extraction, trash/drop bin storage, a kreg fence system for accurate cutting, and integrated storage on both wings. The center cabinet is removable and can be mobile in the shop as needed. Remember to subscribe as there will be 2 other parts to this series with upper cabinets and a dust collection shroud.
The detailed plans can be purchased here: Plans


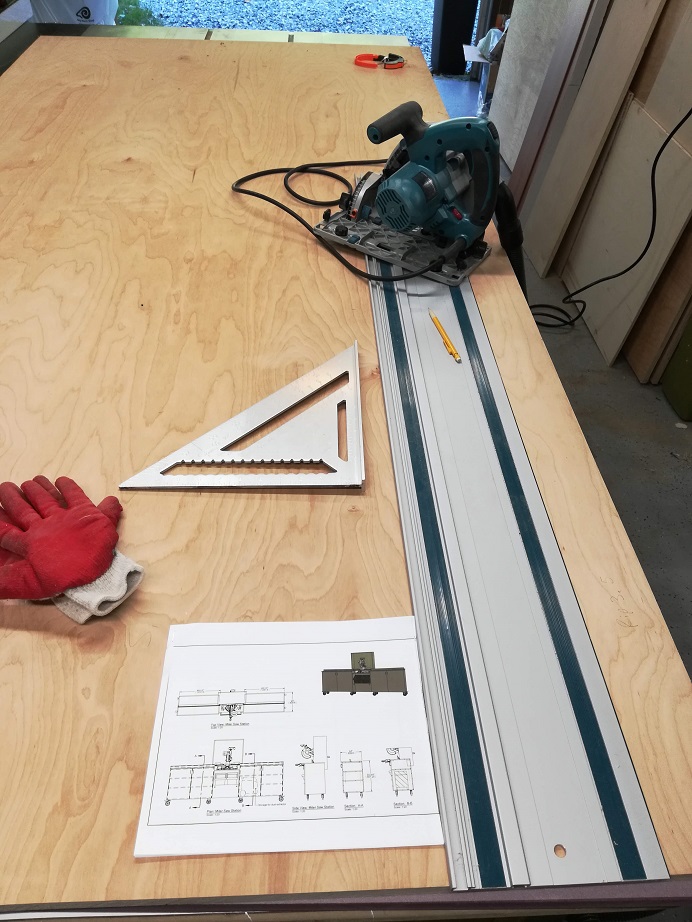
1. Plans Review & Parts Cutting
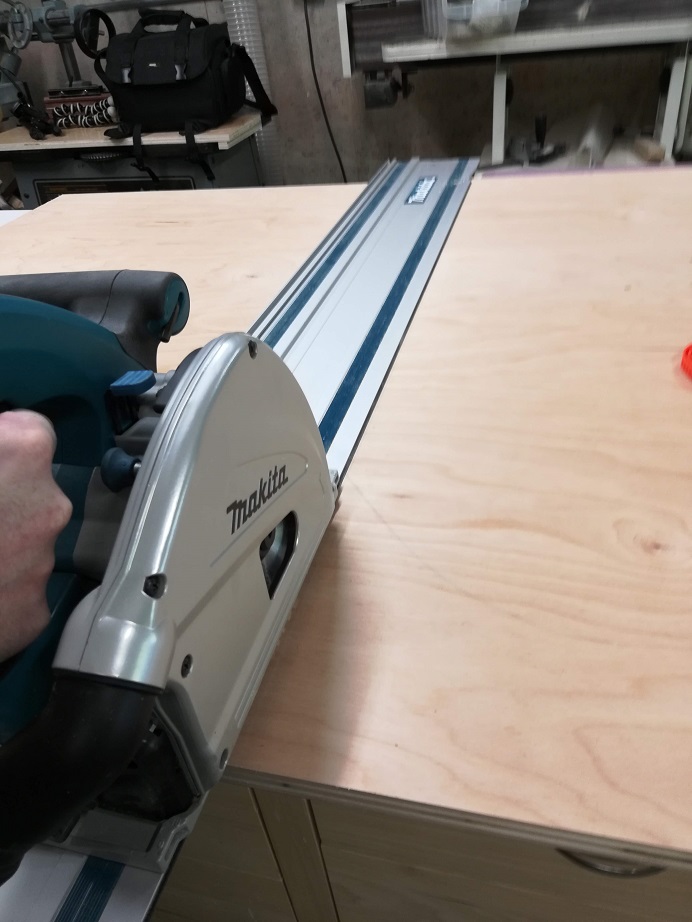
The first step is to familiarize yourself with the project plans and to look at the cut lists. I’ve taken the time to provide precise cut list dimensions on nested 4’ x 8’ sheets. This will allow you to get right to work cutting the parts. I prefer to break down the wide cross cut dimensions with my track saw but alternatively you can clamp a straight edge and use a regular circular saw to make the cuts. Once I get the sheets cut down to width, I make the final cuts on the table saw for accuracy.
2. Cutting the Rabbets
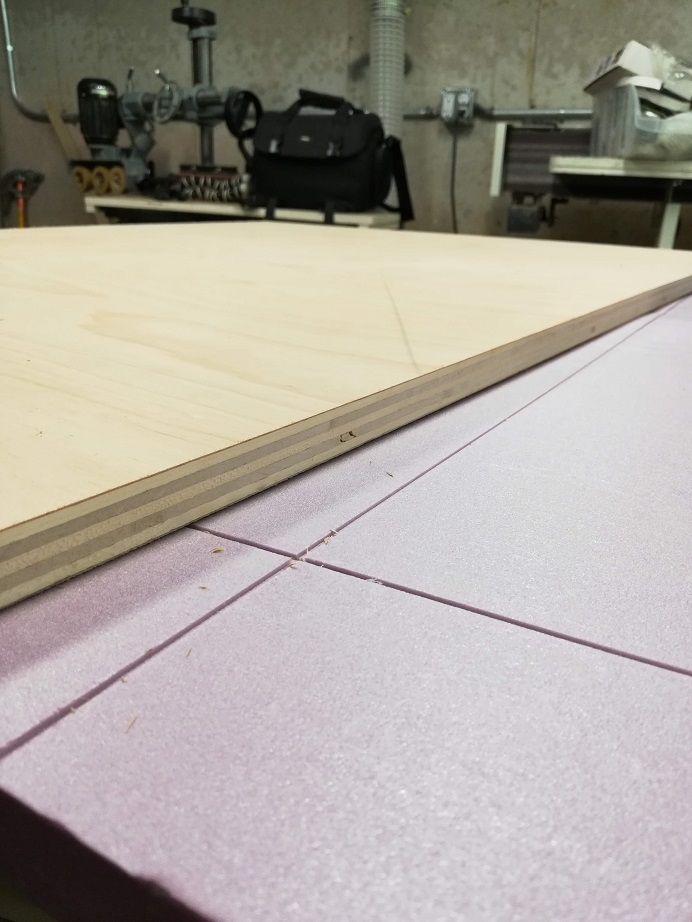
Next you can setup the table saw with a dado stack to cut the back rabbet. This alternatively can be done with a handheld router with a rabbet bit that has a bottom bearing. This rabbet will accept the ½” cabinet back and allow you to not only square the cabinet with the back but it is much stronger than just simply putting it on the back of the plywood as an overlay back. Make multiple passes to ensure you have a fully milled cut.
3. Edge Banding
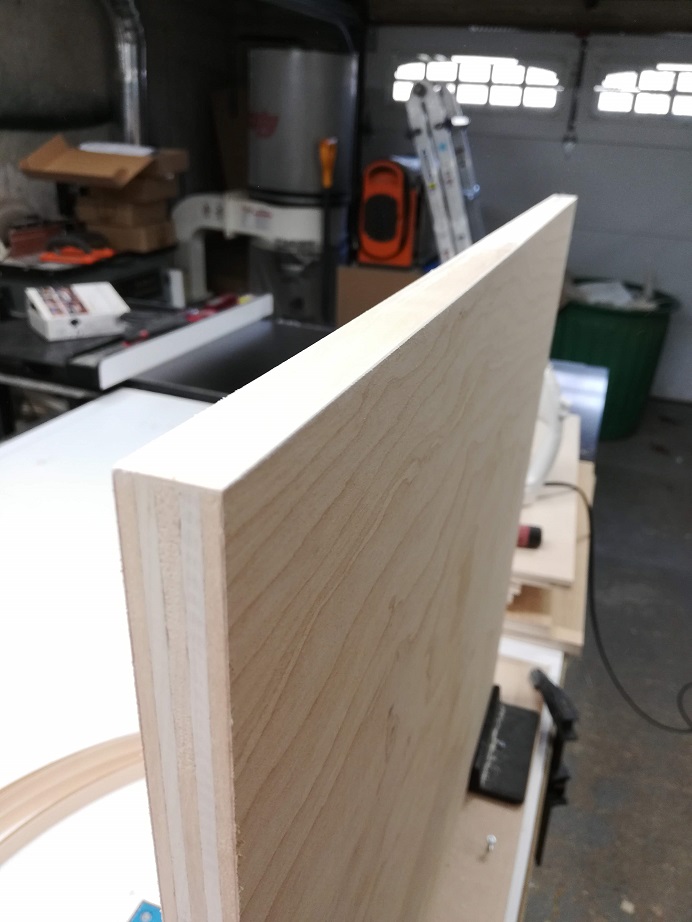
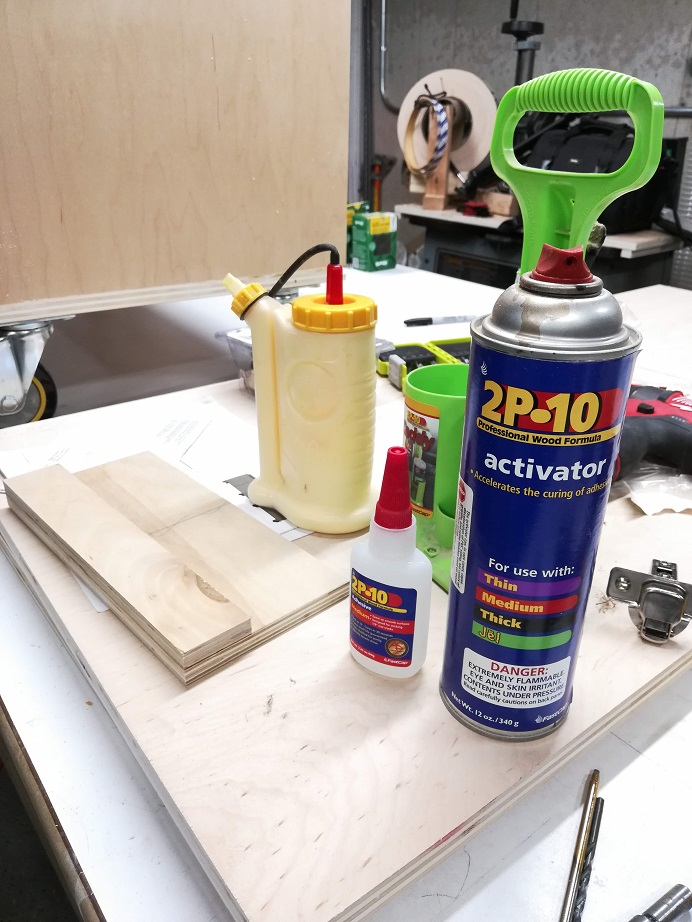
As I mentioned in the video I highly recommend that you purchase pre-finished plywood or melamine as it will be much faster and less expensive than the latter. I use natural maple plywood in the video as I had about 10 sheets left over from a large project and it was free material. You can purchase pre-finished maple edge banding or white PVC in the case that you choose to use white melamine. I like the iron on as it is economically priced and very durable. I put links to the Fastcap tools I use including the roller, cutters, and sanding accessories that make this a breeze. Edge band all of the shelf and cabinet part front edges for a professional look.
For the countertops I decided to use a solid wood ¾” x ¾” maple edging so that I could round it over with a router and it would be more durable in the long term. I did this by ripping strips of ¾” maple (slightly oversized to flush trim later) and miter wrapping them to the plywood counters. You can glue them with ease using clear packing tape to hold the parts while you work the clamps. Make sure the wood is proud of the plywood veneer, so you don’t burn through it. You can carefully use a flush trim bit with a bottom bearing in a handheld router to remove the excess after the glue has dried. I also rounded over the edges with a ¼” round-over bit in the same handheld router.


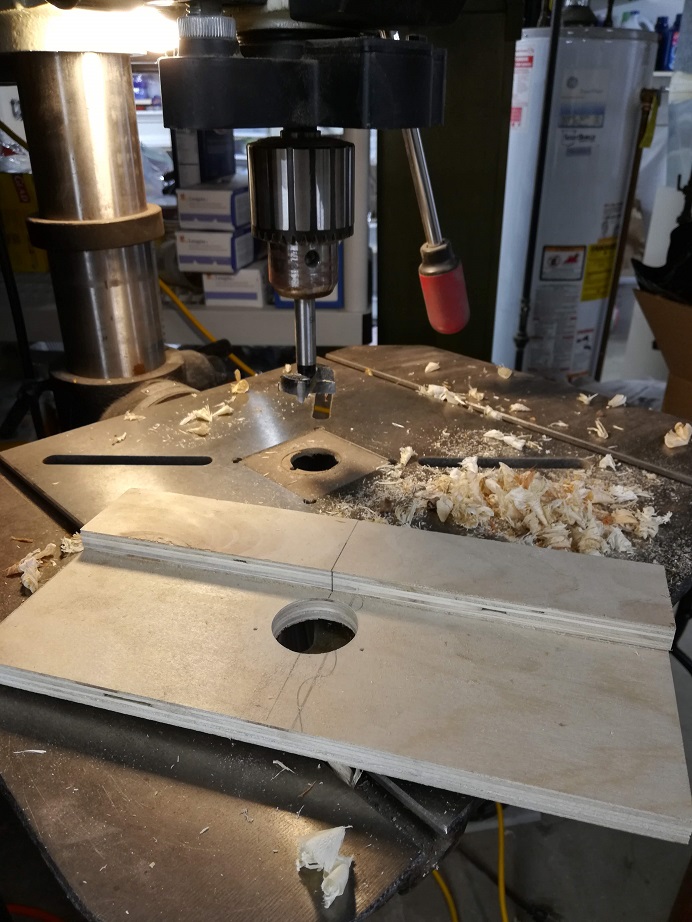
4. Adjustable Shelving Holes
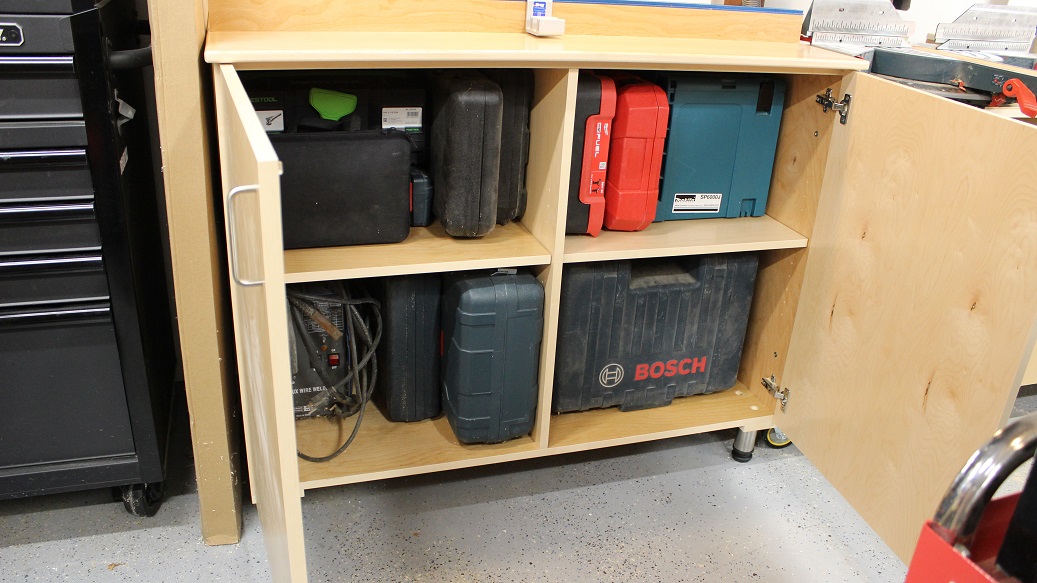
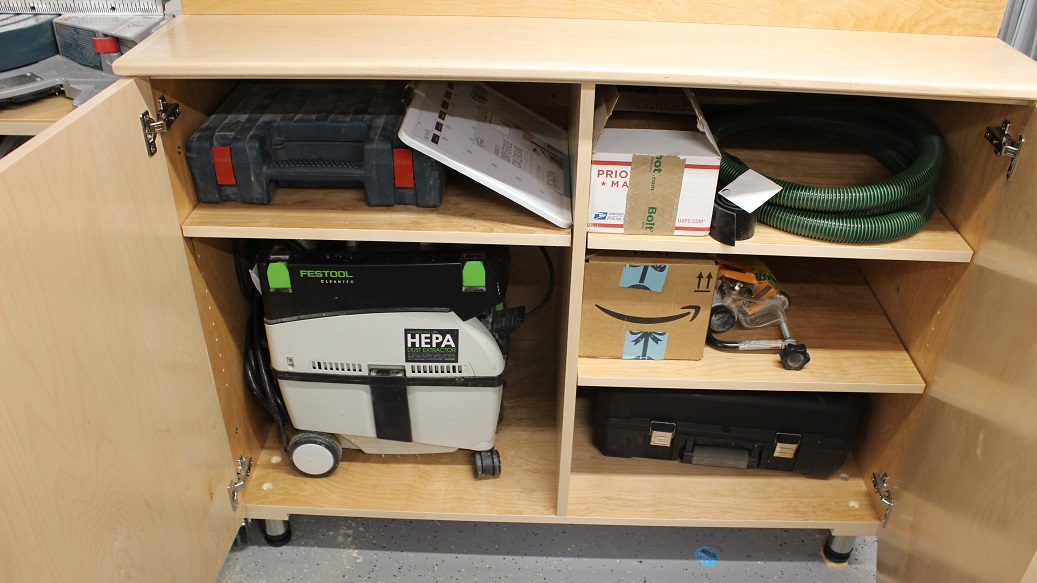
I used a Kreg line boring jig for this step, it’s inexpensive and very quick to allow you to put about 10-11 holes in height, which gives you plenty of adjustability for your storage needs. Mark a centerline on the plywood cabinet side and drill your center hole there and then mirroring the pattern down and to the other side. I used 5mm holes in my project but if you prefer to use ¼” holes simply swap the materials in the project bill of materials.
5. Sanding & Finishing
You can skip this step if you purchase pre-finished material but with my natural maple plywood I sanding all of the parts smooth and sprayed 3 coats of pre-cat water based lacquer on all of the parts. This ensures a long-lasting finish that won’t get moldy in a damp garage (in the summer months). I sanded between coats with 220 grit sand paper and a sanding sponge.

6. Assembly
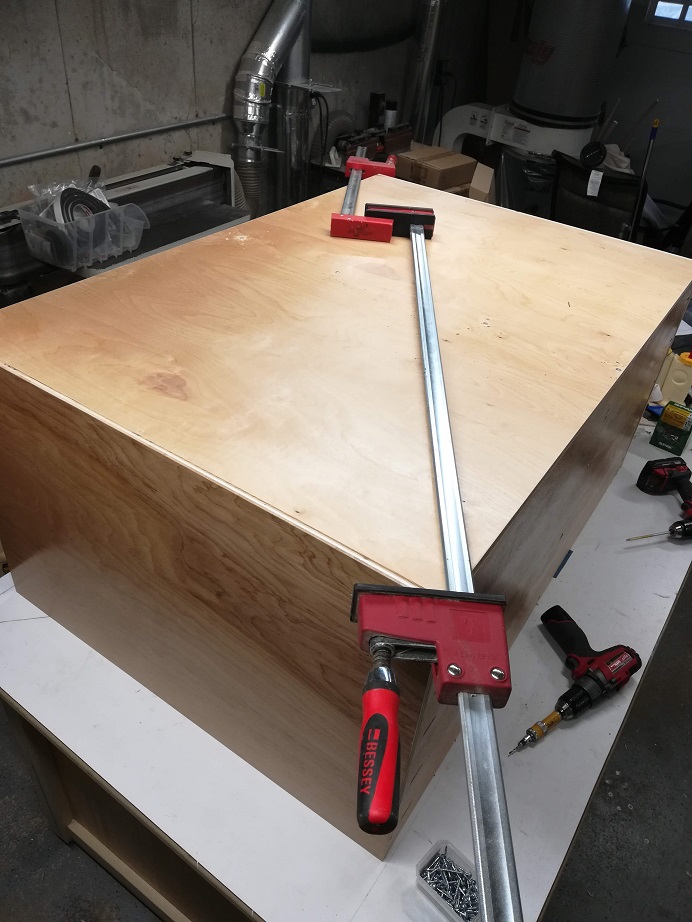
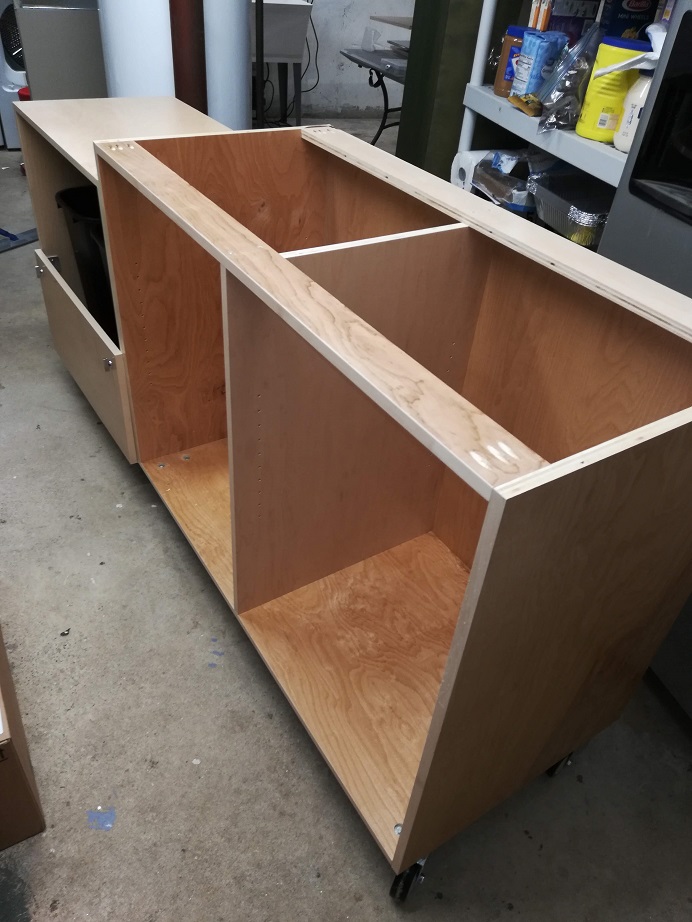
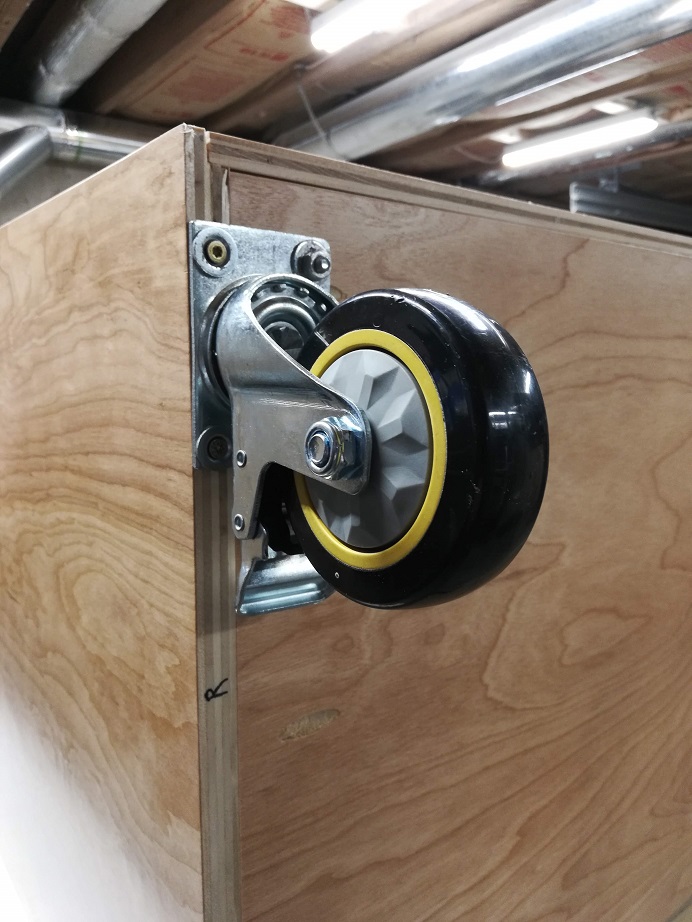
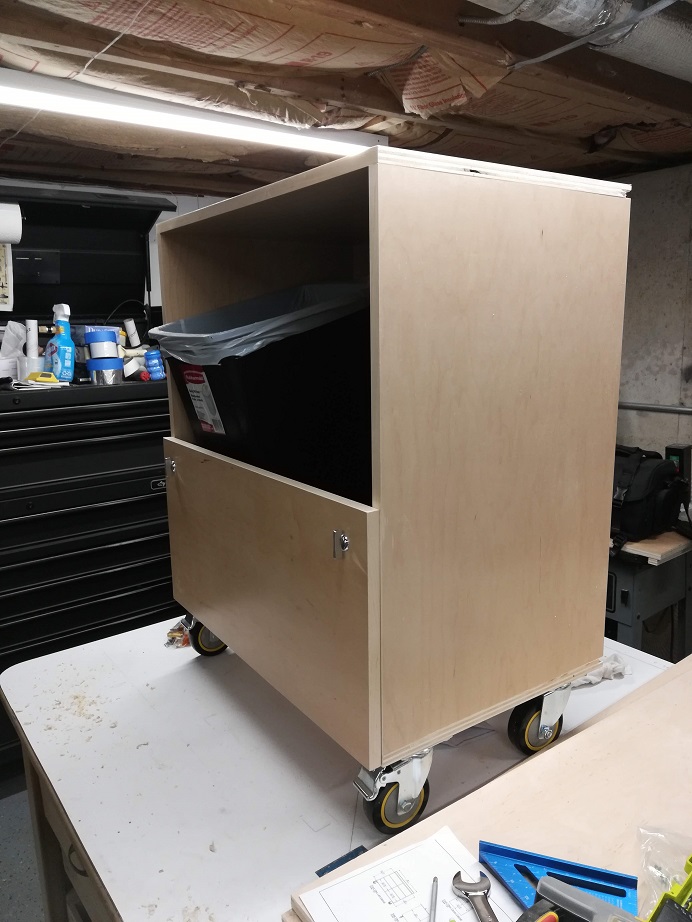
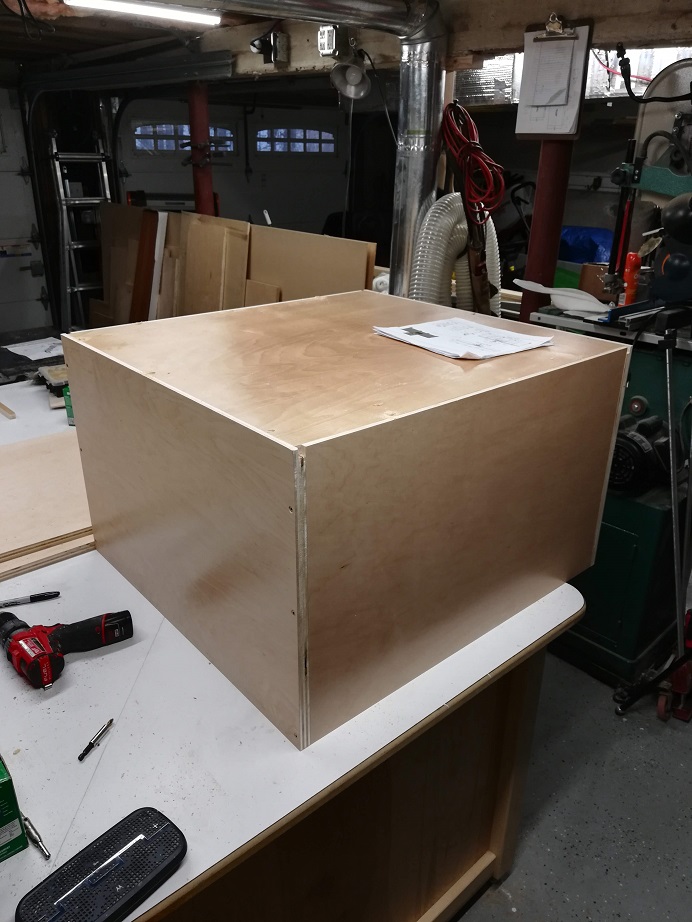
Start with assembling the middle cabinet first as it’s smaller and easier to put together. Clamp one of the sides to the top and bottom and make everything flush on the front edge and sides. I like to put two bessey k-body clamps on the cabinet to hold it together while I screw it in place. Use a pre-drill/countersink bit to sink the screws flush without any splitting. The screws on the bottom will be hidden and top will be hidden with a ¼” plywood spacer that you will add later. Once you have the sides and top and bottom together flip it upside down to install the back. Installing the back, you want to square up the cabinet (see my video) and be sure not to drill through the inside or outside of the plywood, screwing at a sharp angle. Lastly you can install the casters with screws on the plywood side and hex bolts on the inside, making for a stout install for the heavy miter saw. I counterbored the inside holes so the fasteners sat flush and didn’t interfere with the trash bins.
For the side cabinets follow the same process. I will show detailed views on the project plans to aid in this assembly. The middle partition should be dead center so that the shelving is all the same size and you don’t have to adjust the width to accommodate it being offset. For the side cabinets I choose to use furniture leveler legs instead of casters to provide better stability and to level them to the floor.
7. Installation
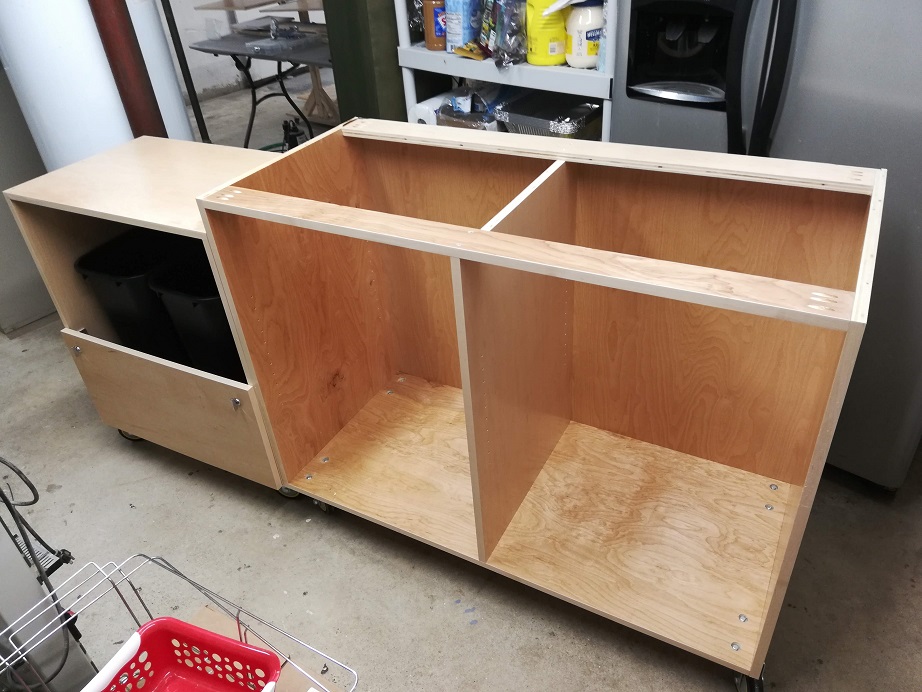
Put all three cabinets together and clamp them together with the front and bottom edges flush. Once you have them flush drill 4 holes per side through the center cabinet for fastening. I used threaded inserts with epoxy so that I could easily remove them and use the center cabinet separately in the shop elsewhere if needed. Hex bolt them together for a sturdy install.
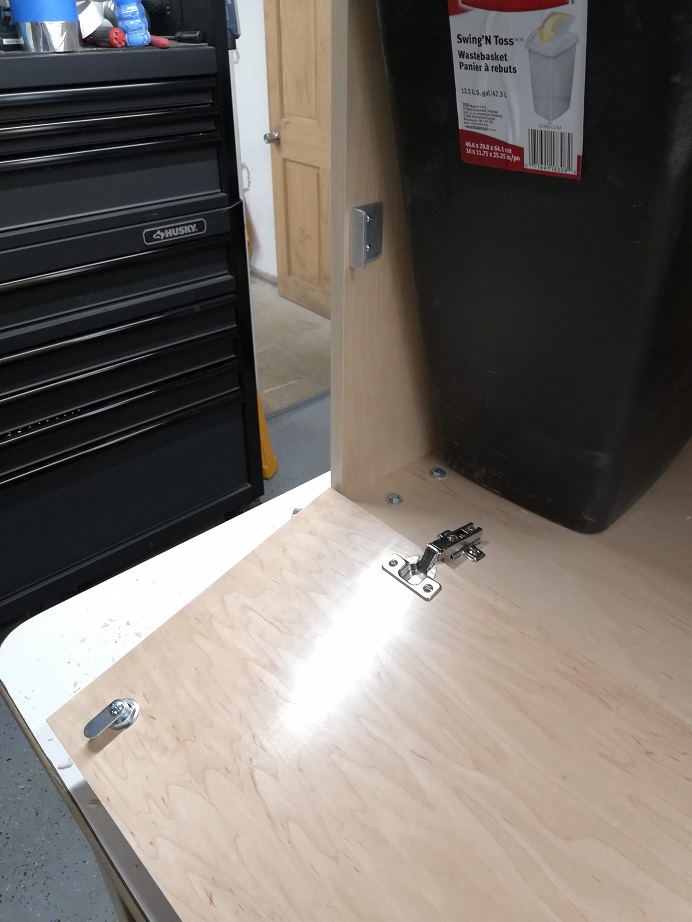
Next you want to level the cabinets side to side and front to back. If you do this before installing the doors you won’t have to adjust them after. Once the cabinets are perfectly level you can install the cabinet doors. The euro hinges are adjustable 3 ways with a screw driver so that you can get your reveals dialed right in perfectly.
Lastly you want to drill a few holes in the top rails to fasten the countertops down from the inside. I used 1-1/4” kreg screws so that I didn’t come through the countertop. I left the countertops flush with the back and with an overhang over the front doors, and flush on the saw side with an overhang on the outboard side.
8. Installing the Saw
Once the counters are in you can install your miter saw. The miter saw should be set from the front edge to allow you to swing it at least 50 degrees in either direction. Then you can predrill holes for the fasteners and threaded inserts. Install the inserts and bolt it down. Make sure it is approx. 1/32” above the surface of the countertops (See the video). Shim the saw as needed with washers to achieve this height.

9. Installing the Fences
The last step is to install the fences. You can do this by putting them in place with a 4’ level and maintaining a nice straight edge. I try to install the fences 1/32” back from the saw fence so it’s only a reference and doesn’t interfere with boards. I pre-drilled the holes and fastened them down with kreg screws. You can then install your kreg measuring tape from your saw centerline and adjust it as needed.
10. Enjoy your New Miter Saw Station!
I hope you enjoyed this build. Plans are coming soon with a detailed bill of materials and instructions. Leave me comments on youtube and social media and any questions you have. Thanks for reading!
Helpful Links
Some of the items below contain affiliate links which help this website.
Some components used (full bill of materials included in plans on my website)
Kreg 48” Track
Track measuring tape
Production Track Stop
Tools used for this project
Kreg Hardware Jig
Kreg Concealed Hinge Jig (If you don’t want to make one)
Kreg Shelf Pin Jig
Milwaukee M12 Fuel Drill Kit
Makita Track Saw
Sawstop Table Saw
Freud Dado Set
Bessey K Body Clamp
Fastcap Tape Measure
Fastcap Fast Break
Fastcap Quad Trimmer
Self Centering Drill Bits
Fuji Minimite 4 Spray Gun Kit
Jet Drill Press